PHOTOGRAPHY BASICS – BEGINNER TO INTERMEDIATE
HELP GUIDES (for Sony Users)
(User / Owner Manual)
- Google searching “<camera name> help guide” will show you the necessary link for the web manual of the product.
- By visiting the
- Support/Manuals Page –>
- Select Cameras & Camcorders –>
- Corresponding Camera Model (Example: ILCE-7SM3) –>
- Select Help Guide (Web Manual) for A7Siii’s web manual or help guide
Here are the help guide for few cameras in the Sony ecosystem.
SONY HELP GUIDES
Other camera / camera brand users can find the respective help guides from their support page.
This is a living post and will keep evolving with new additions almost every day. It is better this way to help people and to be as accurate as possible.
ART OF PHOTOGRAPHY
Before we discuss anything else, I want the readers to remember:
WHY DO YOU PURSUE PHOTOGRAPHY?
Everyone have their own answers and I want readers to answer it yourself and remember it every time you think about a camera or touch it.
Why Photography is an art?
There is no right or wrong way to it. Artist determines their art based on their emotions, their experience and their capability of creating it.
With that said, there can be a good and bad arts or photos. Any photos that trigger emotions or a memory or tell a story are typically good photos.
Some of my work
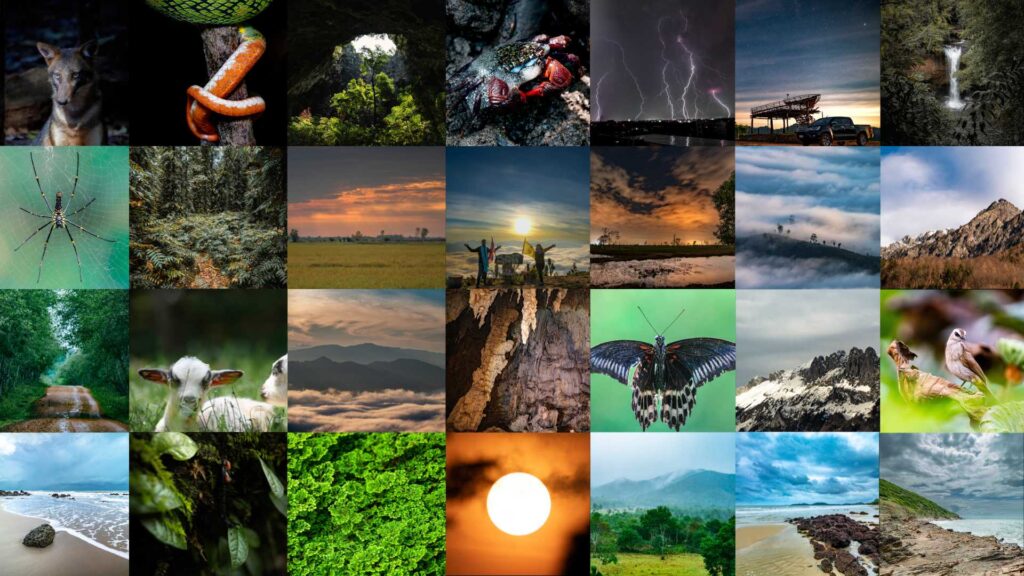
Please DONOT attempt to download these photos as they are severely downsized. If you want to take a closer look, you can check them out here or in my Instagram account.
If you wish to support us, you can purchase our photos or support us using any of the links from the footer.
WHY PHOTOGRAPHY?
It is a rhetorical question, yet everyone should find their answer to it and remember the answer every time you take photos.
For me, photography is a way of documenting my life through my eyes. This world is so beautiful and I want to capture it the way I see it and perhaps make it even more beautiful through my tools.
I remember the story of every single photo I’ve shot over the past 12 years and I travel through time into the past to those events. I desire to take the viewers of my photos back in time with me and to have the same experience as me when I shot my photos.
I strive to achieve it every single time I touch my camera. I perhaps am creating portals in my timeline every time I click the shutter button.
This is what Photography is for me and with this perspective, lets continue to learn photography.
MOTIVATION
WHAT MOTIVATES ME TO PHOTOGRAPH?
For me Photography is one of my creative out where I find myself at bliss. Traveling places, photographing and vlogging them are my favorite activities next to spending time with my partner.
I feel that when I leave this world, what’s left will be my work and what I offered back to the community.
Find what motivates you to photograph
For some, the motivation could be money. By being a events, sports, wedding, real estate, product photographers, etc., could make money in regular intervals.
For some, it could be passion. We often take a liking to what we see and tend to remember them through photos.
For some, it is both – either passion to job or job and passion. Either way, I call them the PROFESSIONALS who are successfully following their passion which in turn makes them money and allows them to develop their passion.
Regardless of what your motivations are, there are key basics that any photographer needs to understand to get good results. That is what we will be discussing in the next sections.
DIGITAL PHOTOGRAPHY ELEMENTS
We shall take a Goal / Output Oriented Approach to learn photography. To understand further, lets exercise our visuals a bit.
What do you 1st notice in this photo?
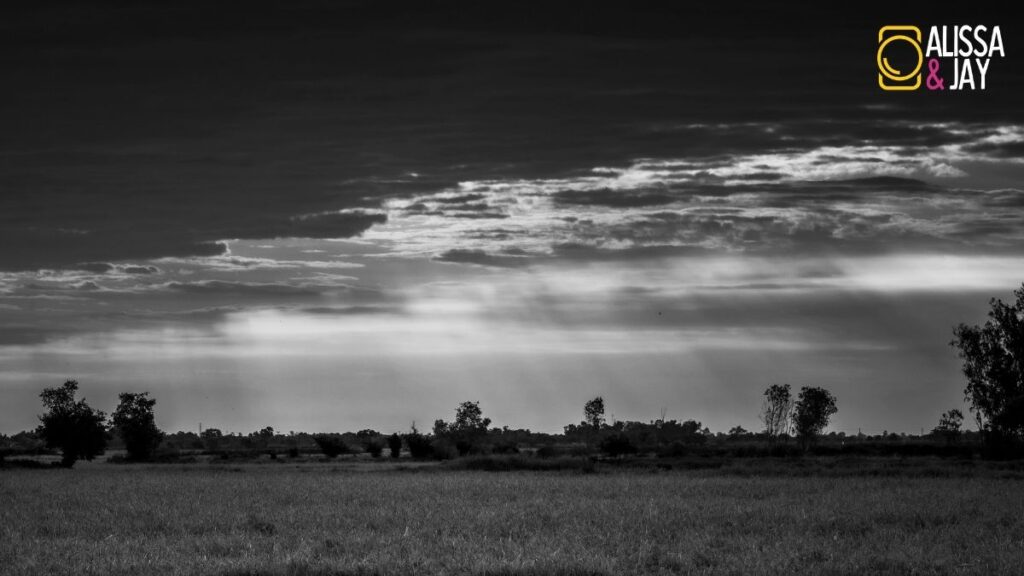
How about now?
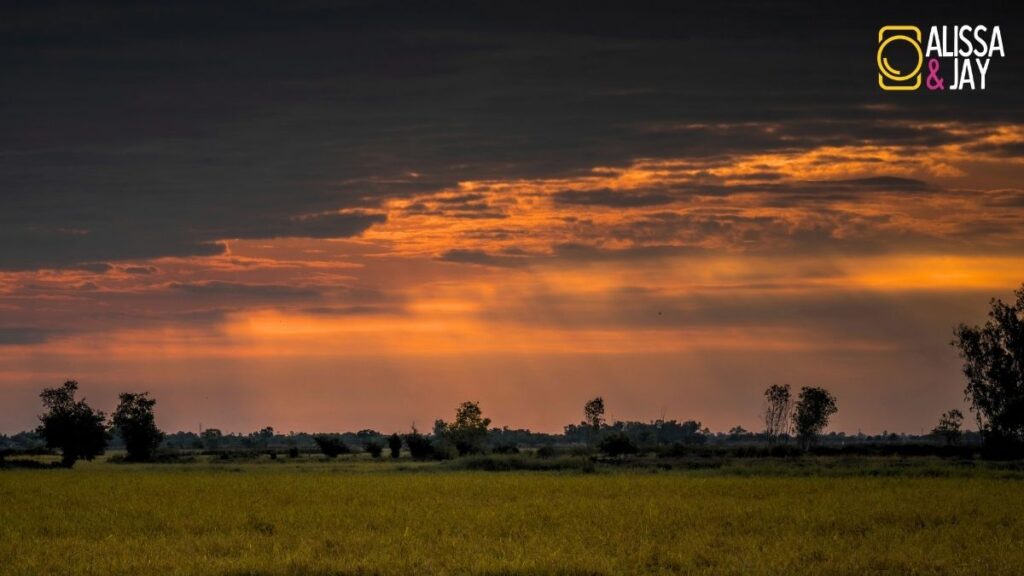
Play with slider to compare what attracts you into the image?
In both cases, light and color are the factors that 1st draws your attention.
Let us take this other example.
What do you 1st notice in this photo?
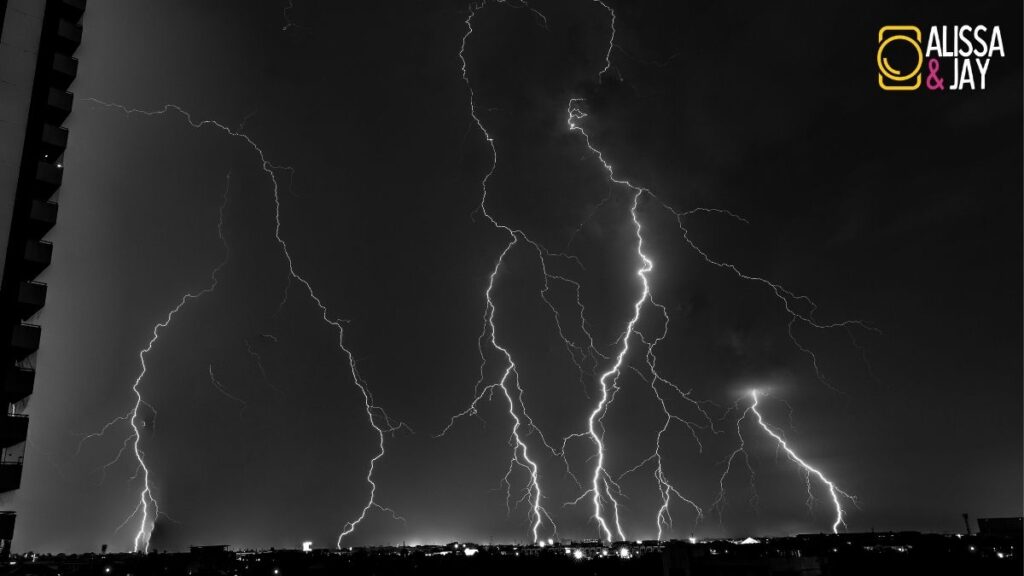
How about now?
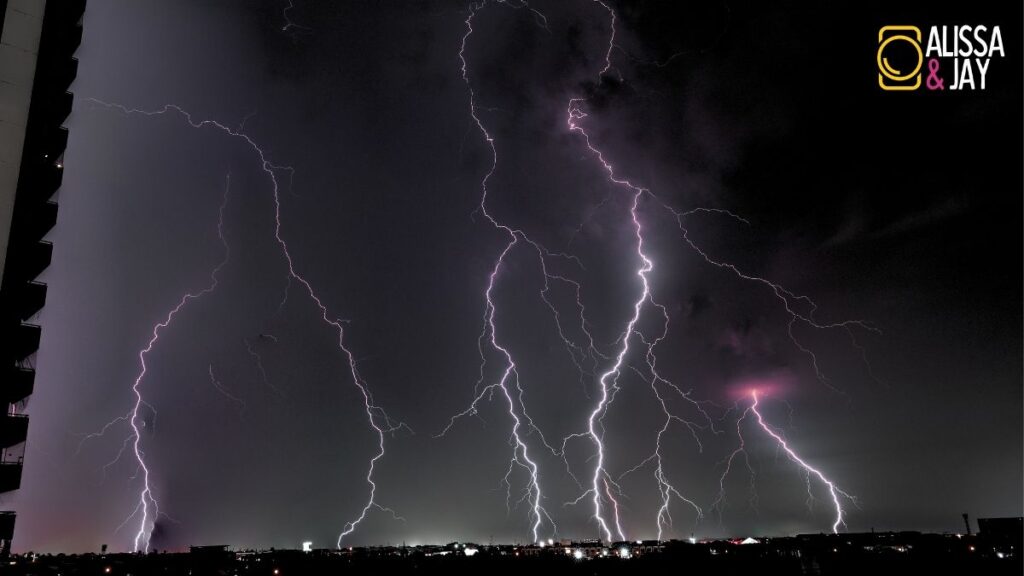
Play with slider to compare what attracts you into the image?
Now that you have a chance to look at these pictures, let me ask you to be critical about these pictures and think about your likes and dislikes about them.
Well, if you have no clue what to look out for, let me guide you to be more specific.
POINTS TO CONSIDER
- Is the subject in focus?
- Is the subject exposed enough?
- Does these photos look natural enough?
- Are colors attracting or distracting?
- Are there a lot of distracting noise?
- How about the composition?
- Is the overall photo looking pleasing?
As you see the importance of each of these points to form a good photo, lets get started with the elements of photography – conceptually with examples .
EXPOSURE
Exposure
Light is the key for photography. But too much light or too little light isn’t good for photos.
Photos can be overexposed, optimally exposed and underexposed. Here are a few more examples.
- Good Exposure
- Over Exposed
- Under Exposed


How Digital Photography Work?
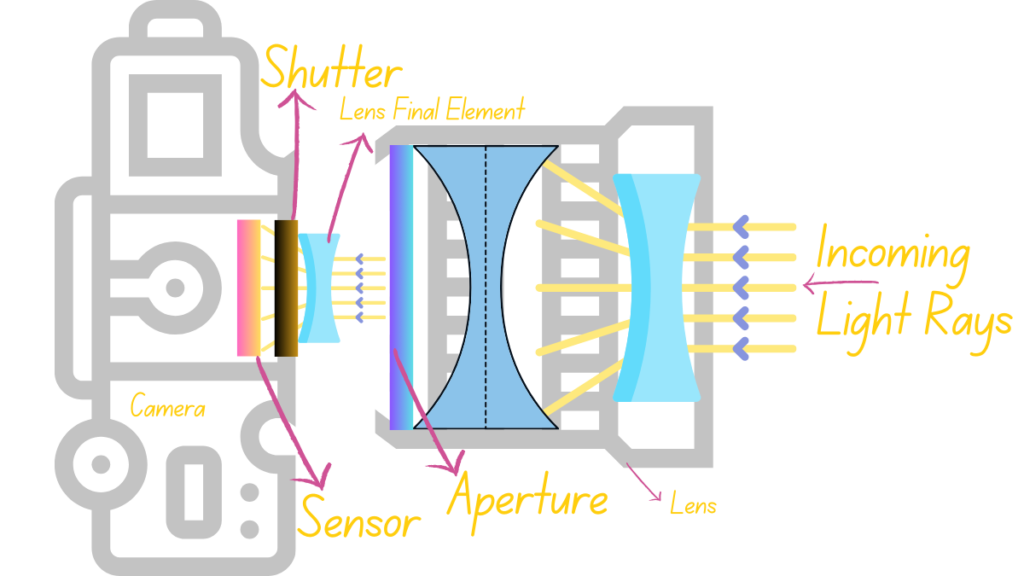
Light is directed to the sensor element of the camera through the lens. Lens is a combination of glasses that gives the required perspective of the photographer. Notice that Aperture residing in the lens and the Sensor and Shutter resides in the camera.
With these sensor perceived light and color values, digital camera meters light and assigns EV value to it. Lower the light on the sensor, lower will be the EV value. Higher the light, higher EV value.
Now that said, it is time to define the elements that control different aspects of photography that every photographer need to understand. Especially, exposure is controlled by 3 major elements called EXPOSURE TRIANGLE.
EXPOSURE TRIANGLE – ISO, Aperture & Shutter Speed. They have more implications than just controlling exposure. Let’s look into in now.
ISO
Sensor consists of photo sensitive elements called pixels arranged in a manner to provide the reading of amount of light and the color values to the processor. The sensitivity of the sensor is called the ISO which is the voltage provided to the sensor to sense the light.
Even so, when the ISO is increased (voltage is increased), the photo sensitive pixels tend to add noise to image.
Photographers understand ISO as one of the arm that control the exposure.
Lower the ISO, Lower will be the noise (ISO Noise) in the image.
- ISO25600
- ISO12800
- ISO6400
- ISO3200
- ISO1600
- ISO800
- ISO400
- ISO200
- ISO100
- ISO50
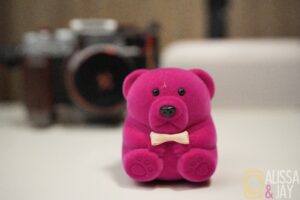


Notice noise in the background, it will lower as the ISO number reduces.
Aperture
Aperture is maximum opening of the lens. For photography lens, it is measured in F stops while for Cine lenses, it is measured in T stops. I wouldn’t go too deep for this post purpose but for the sake of understanding, F number or F stop refers to aperture opening.
Examples of F numbers: F/2.8, F/4, F/5.6, etc.
Wide open refers to the smallest number in the aperture. Example: F/2.8 means the lens can open up to F/2.8. The opposite refers to the closing aperture. Example: F/16 means the opening hole is small.
Aperture also affects the depth of field – the plane of focus.
Aperture also introduces other lens defects in extreme F-stop values. It will be discussed in the lens section.
Lower the F-stop, higher subject separation, shallower depth of field, lets in a lot of light. Example: F/1.8
Higher the F-stop, lower is the subject separation, wider depth of field, lets in very little light. Example: F/22
- F/2.8
- F/4
- F/5.6
- F/8
- F/11
- F/16
- F/22


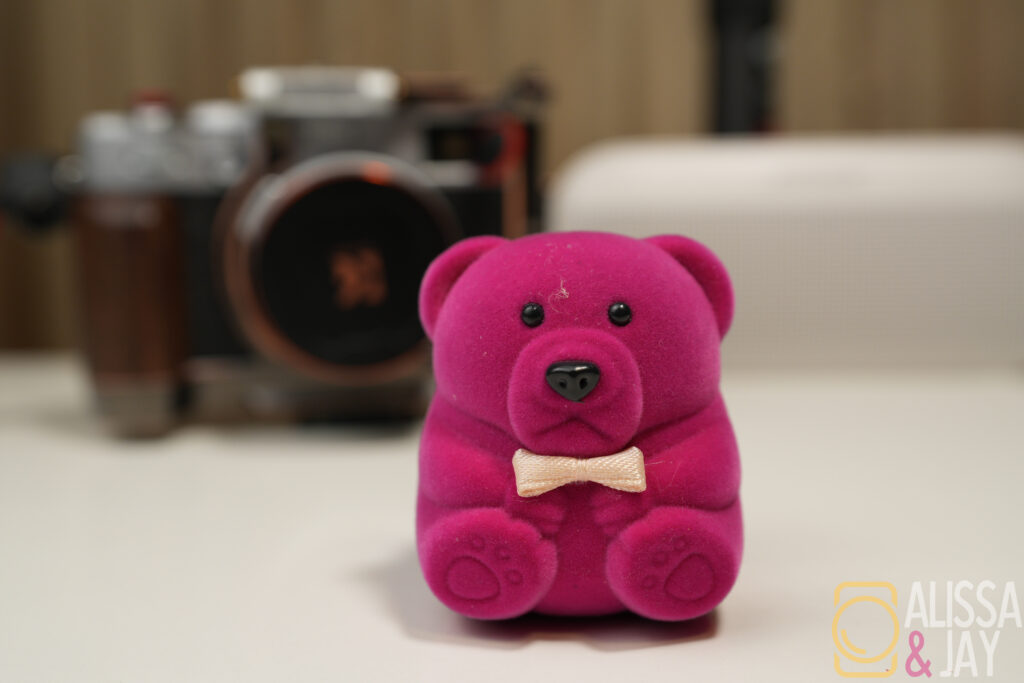


Notice the background coming into focus as aperture is reduced.
Shutter Speed
Shutter Speed is the amount of time the sensor is exposed to the light. There are mainly 2 types of shutter – Electronic and Mechanical. Both does the same job of exposing the light depending on the set shutter speed value.
Shutter speed is measured in terms of seconds. Example: 1/125 means, 1/125th of a second.
Shutter speed does 2 functions. Helps exposing the image correctly and freeze subjects.
Faster the Shutter Speed, less is the light on the sensor, subject is frozen – Used in sports, events, any moving subjects, etc.
Slower the Shutter Speed, more in the light on the sensor, smooth subject movement with trails – Used for long exposure shots, astrophotography, etc.
- 1/8000
- 1/4000
- 1/2000
- 1/1000
- 1/500
- 1/250
- 1/125

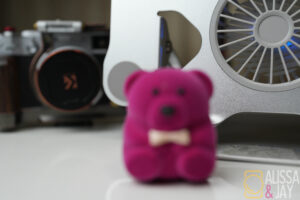
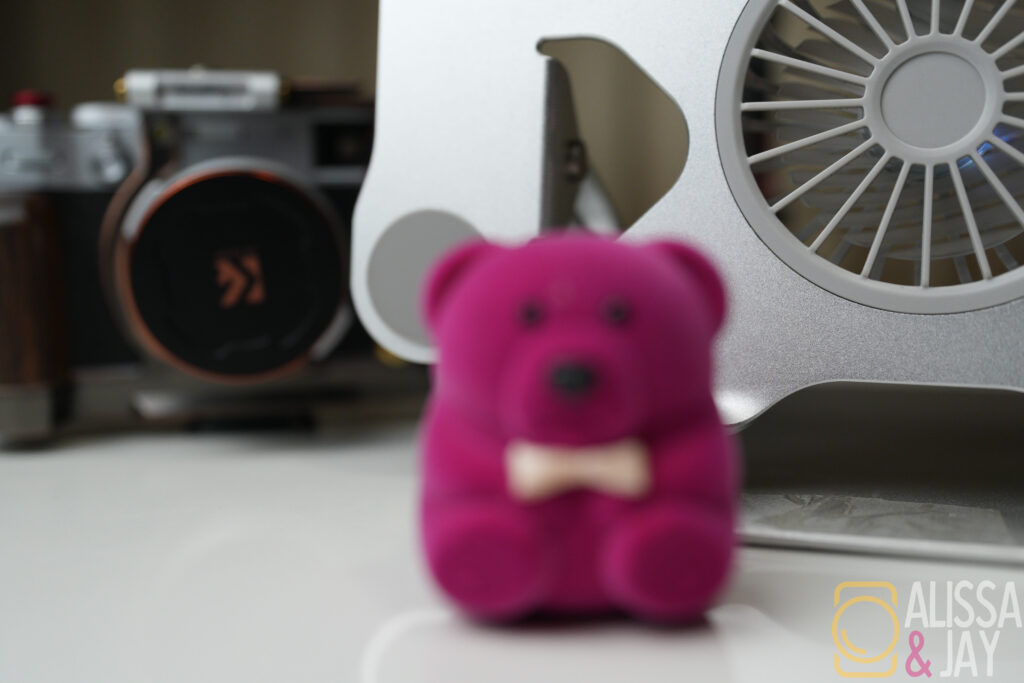

Notice the fan blurring as the shutter speed is lowered.
COLOR
Apart from the color information gathered by the sensor, the way the processor perceives the color information is relative to the White Balance (WB) values. Playing with WB values are extremely critical, once the image contains wrong WB values, it will be very difficult to get back real color information.
WB is measured in Kelvin (K). Grey card is used to set WB for each scene.
Higher the WB value, warmer is the image.
Lower the WB value, cooler is the image.
- 2500K
- 3000K
- 4000K
- 5000K
- 6000K
- 7000K
- 8000K
- 9000K
- 9900K


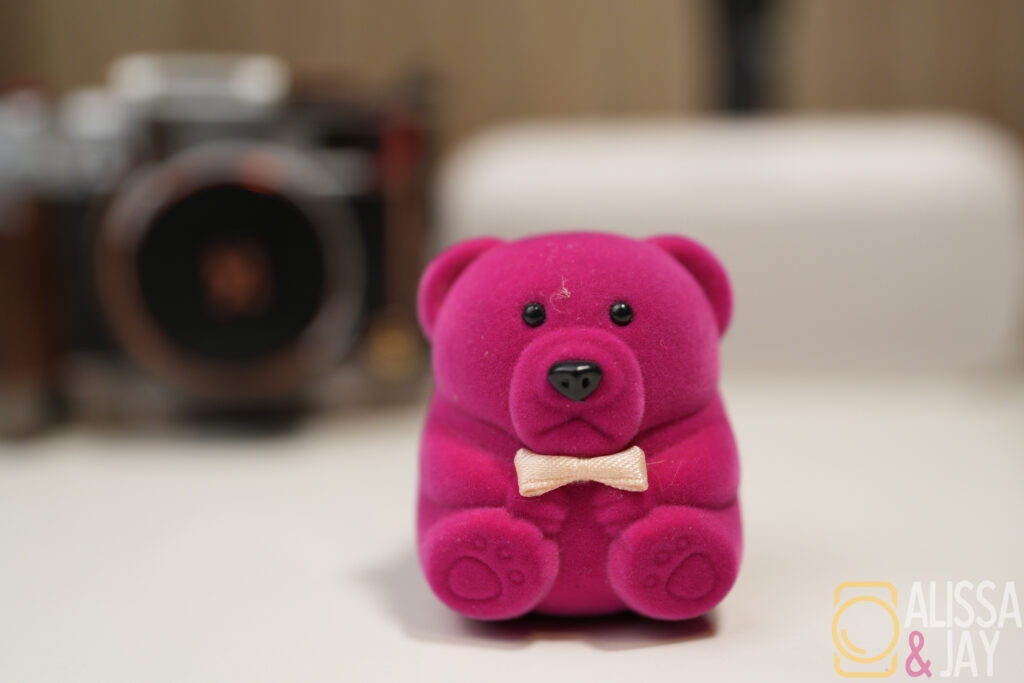


Notice there is almost no blue color information in the photo shot at 9900k.
The output also depends on the picture profile of the camera. We will discuss in the camera section.
COMPOSITION
Composing for light & Composing for subject.
How to draw attention to the subject in any photo?
When we look at any photo, our eyes are drawn to where that 1 differentiating point from the light to the darkness or the dark to brighter region is.
For instance, consider these Images.
Same is the logic to draw attention to the subject of the photograph.
- Image 1
- Image 2


Composing for subject
Leading Lines

Rule Of Thirds

Symmetric
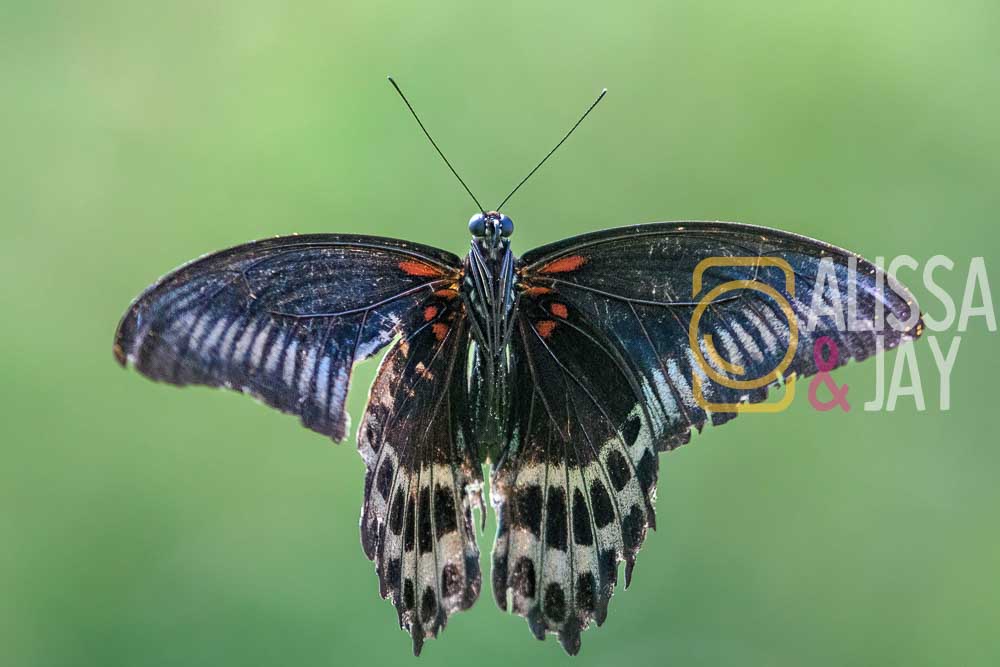
Contrast

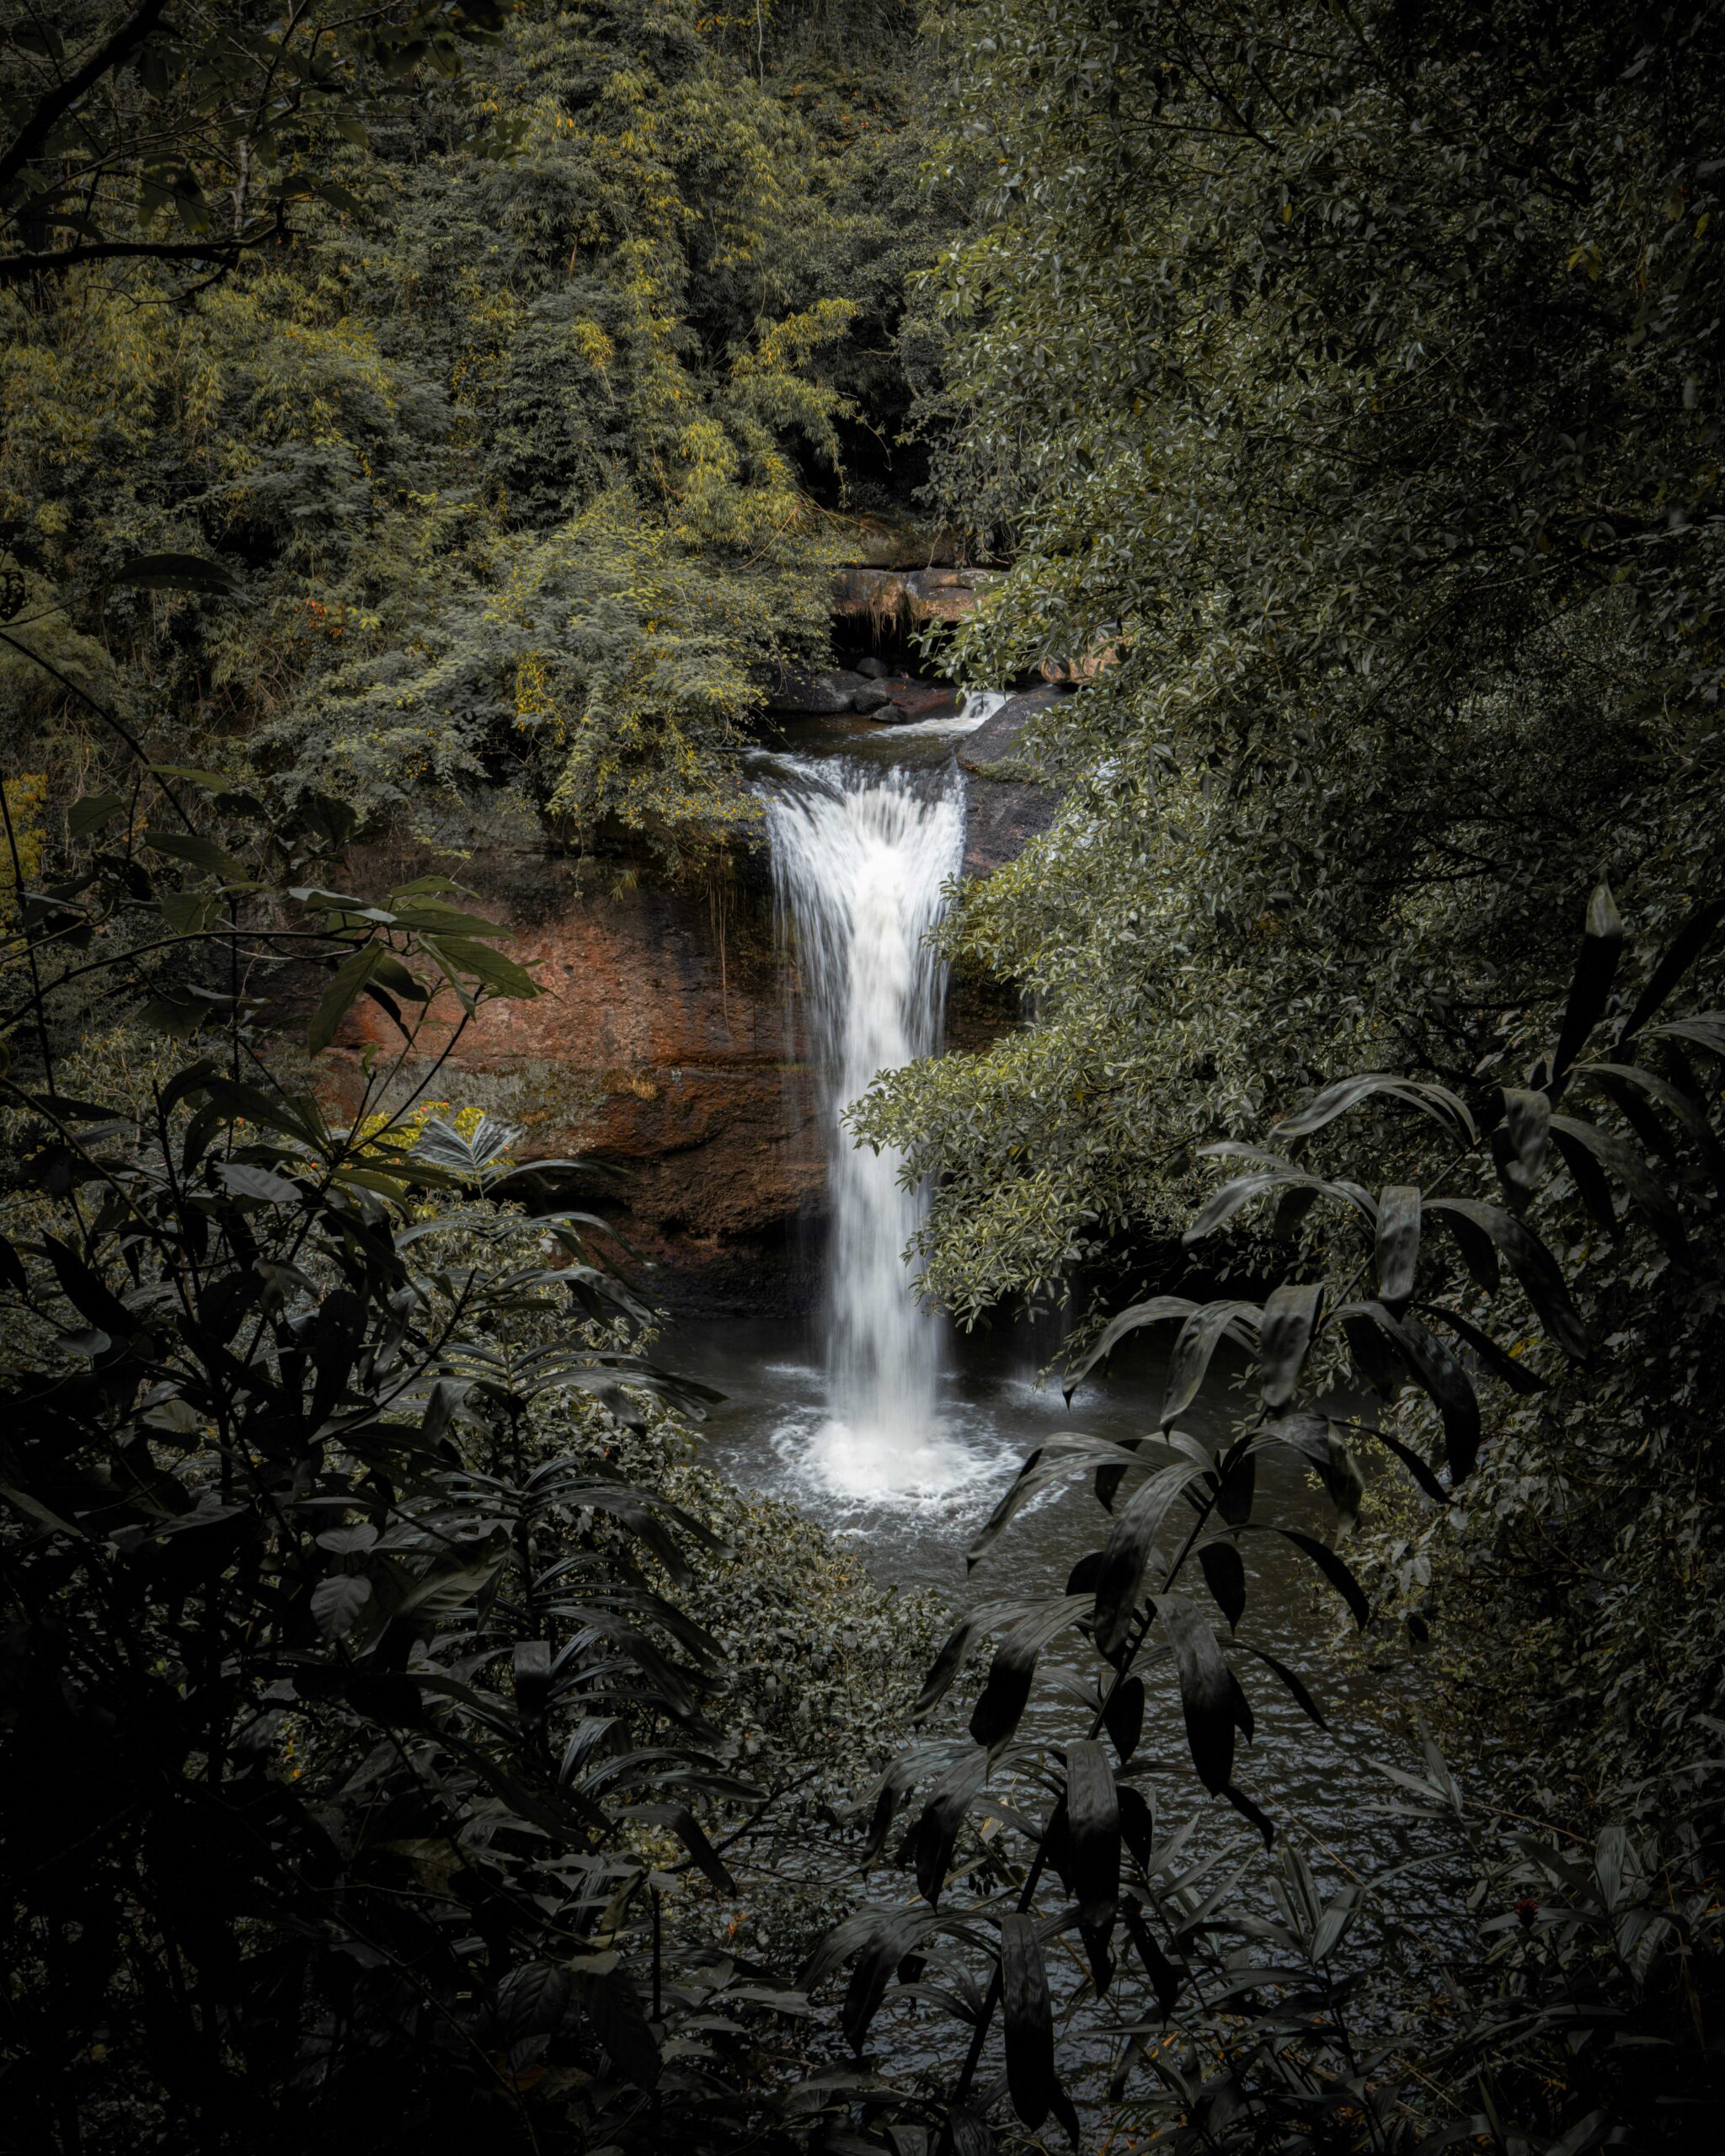
There are several other composition technique. Just google it to find examples and try to recreate them.
FOCUS
After getting the exposure, white balance and composition correct, if you can’t get the subject in focus, then the photo is worthless. So, make sure that the subject is in focus.
Play with slider to compare what attracts you into the image?
FILE FORMATS
No matter how many techniques we use to shoot photos, if the recording format and size are not correct, then it photo will be ruined. Predominantly, there are three photo recording option in most cameras.
RAW, JPG, HEIF
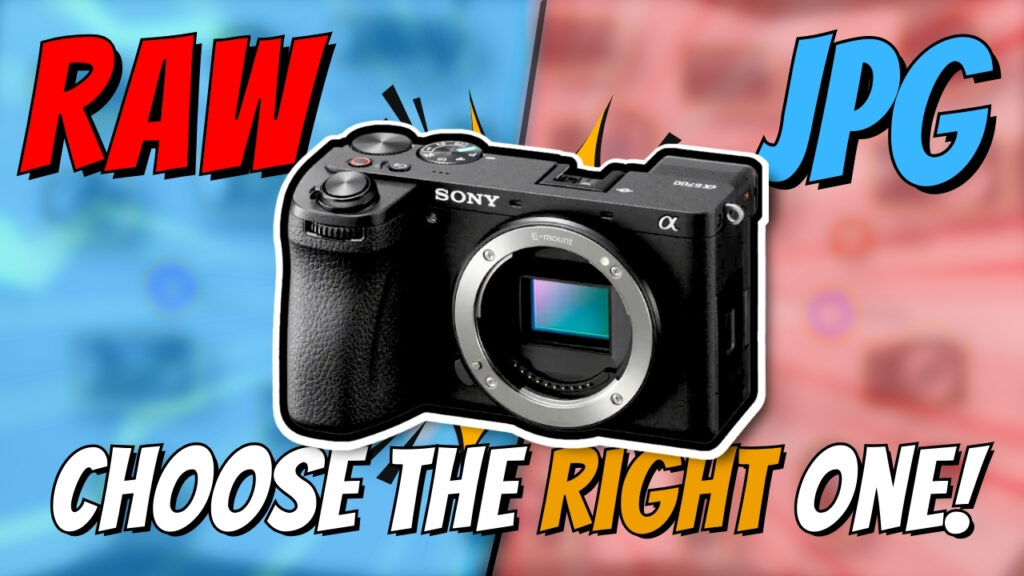
Elaborate video on RAW vs JPG in A6700
Here, the potential to edit an already processed 8-bit JPG file will not provide as much flexibility as the 14-bit RAW file does.
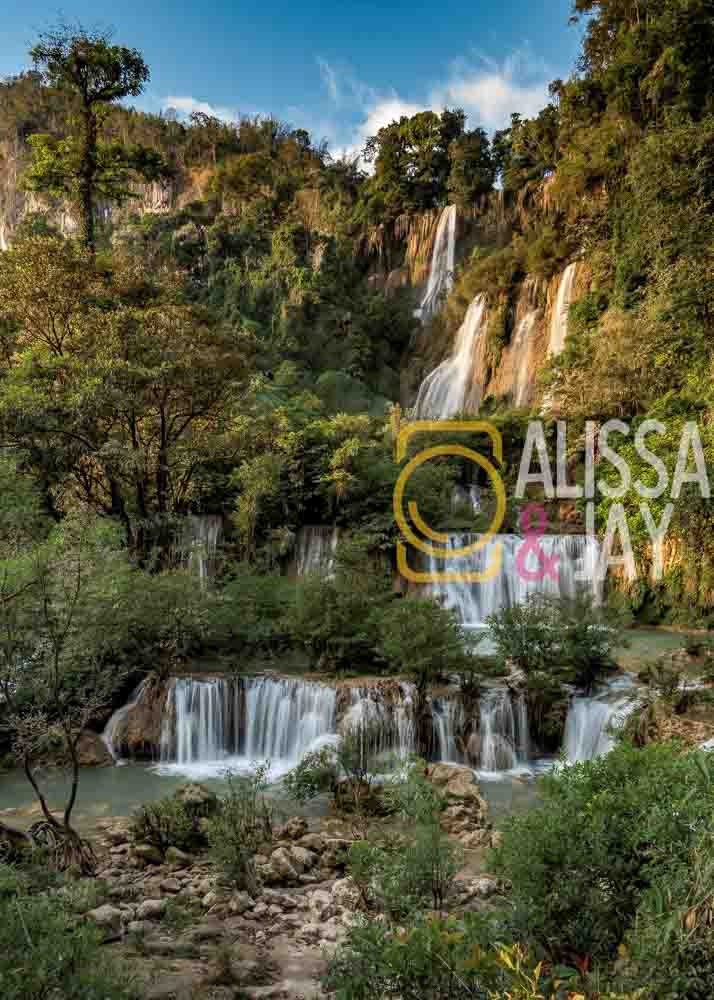
Exporting in incorrect formats will also take a hit on the image quality.
If you are happy with the JPG images, you are good. But if you aren’t happy with the JPG images, then you will need to shoot in raw and edit in software like Lightroom.
PHOTOGRAPHING TOOLS
A camera, lens, Memory Card will allow you to take photos. But if you want to use some photography techniques, you will need a tripod, filters, etc.
Why cameras? Why not phones?
Notice the banding from the S24U’s photo? We can only barely see it in the photos from bigger sensor cameras as they tend to get more and accurate information to the files while the smart phone cameras use computational techniques to product these photos. This causes artifacts.
And of course, the capability to change lenses and get closer to the subject with the tele-lens using interchangeable lens cameras while only limited options with smartphones.
TOOLS & EXPENSES
Let’s see what to consider in each of the tools and how expenses might add up. So, you are considering photography as a hobby, you need to understand it is an expensive hobby.
CAMERA
FEATURES
- Sensor Size
- Megapixels
- Dynamic Range
- File Compressions
- In-body Image Stabilization
- Autofocus
- Ergonomics & Buttons
- Weight
- Frame Rates
- SD Card Slot
- View Finder
- Weather Sealing
- Other Features
EXPENSES
- Camera
- Tripod
- Baseplate
- Cage
- SD Card
- Additional Battery
- Camera bag
- Camera Strap
- Remote
- Lenses & Filters
Discussing this will take time.. LOL…
LENSES
FEATURES
- Focal Length(s)
- Aperture
- Lens for appropriate sensor size
- Weather Sealing
- Sharpness
- Autofocus
- Chromatic Aberrations (Fringing)
- Distortions
- Close focusing distance
- Lens breathing
- Par-focal zooms
- Buttons and Switches on lens
- Filter thread
- Weight
- Hood Design
- Handling
EXPENSES
- Filter
- Baseplate
- Cover
- Bigger Camera bag
- Cleaning Kit
PHOTOGRAPHY TECHNIQUES
This section is still under making so, please stay tuned to this section next month. For now, you will have examples and I will mention how to do them in the video.
I shoot manual but I will explain few other modes and when they come in handy .
Eye level
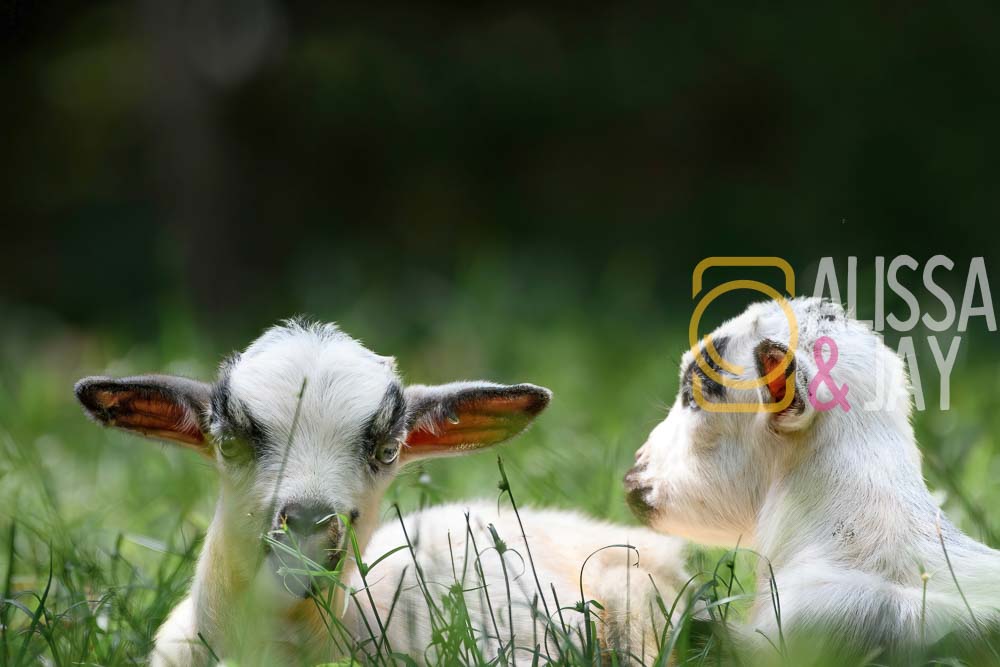

Long Exposure
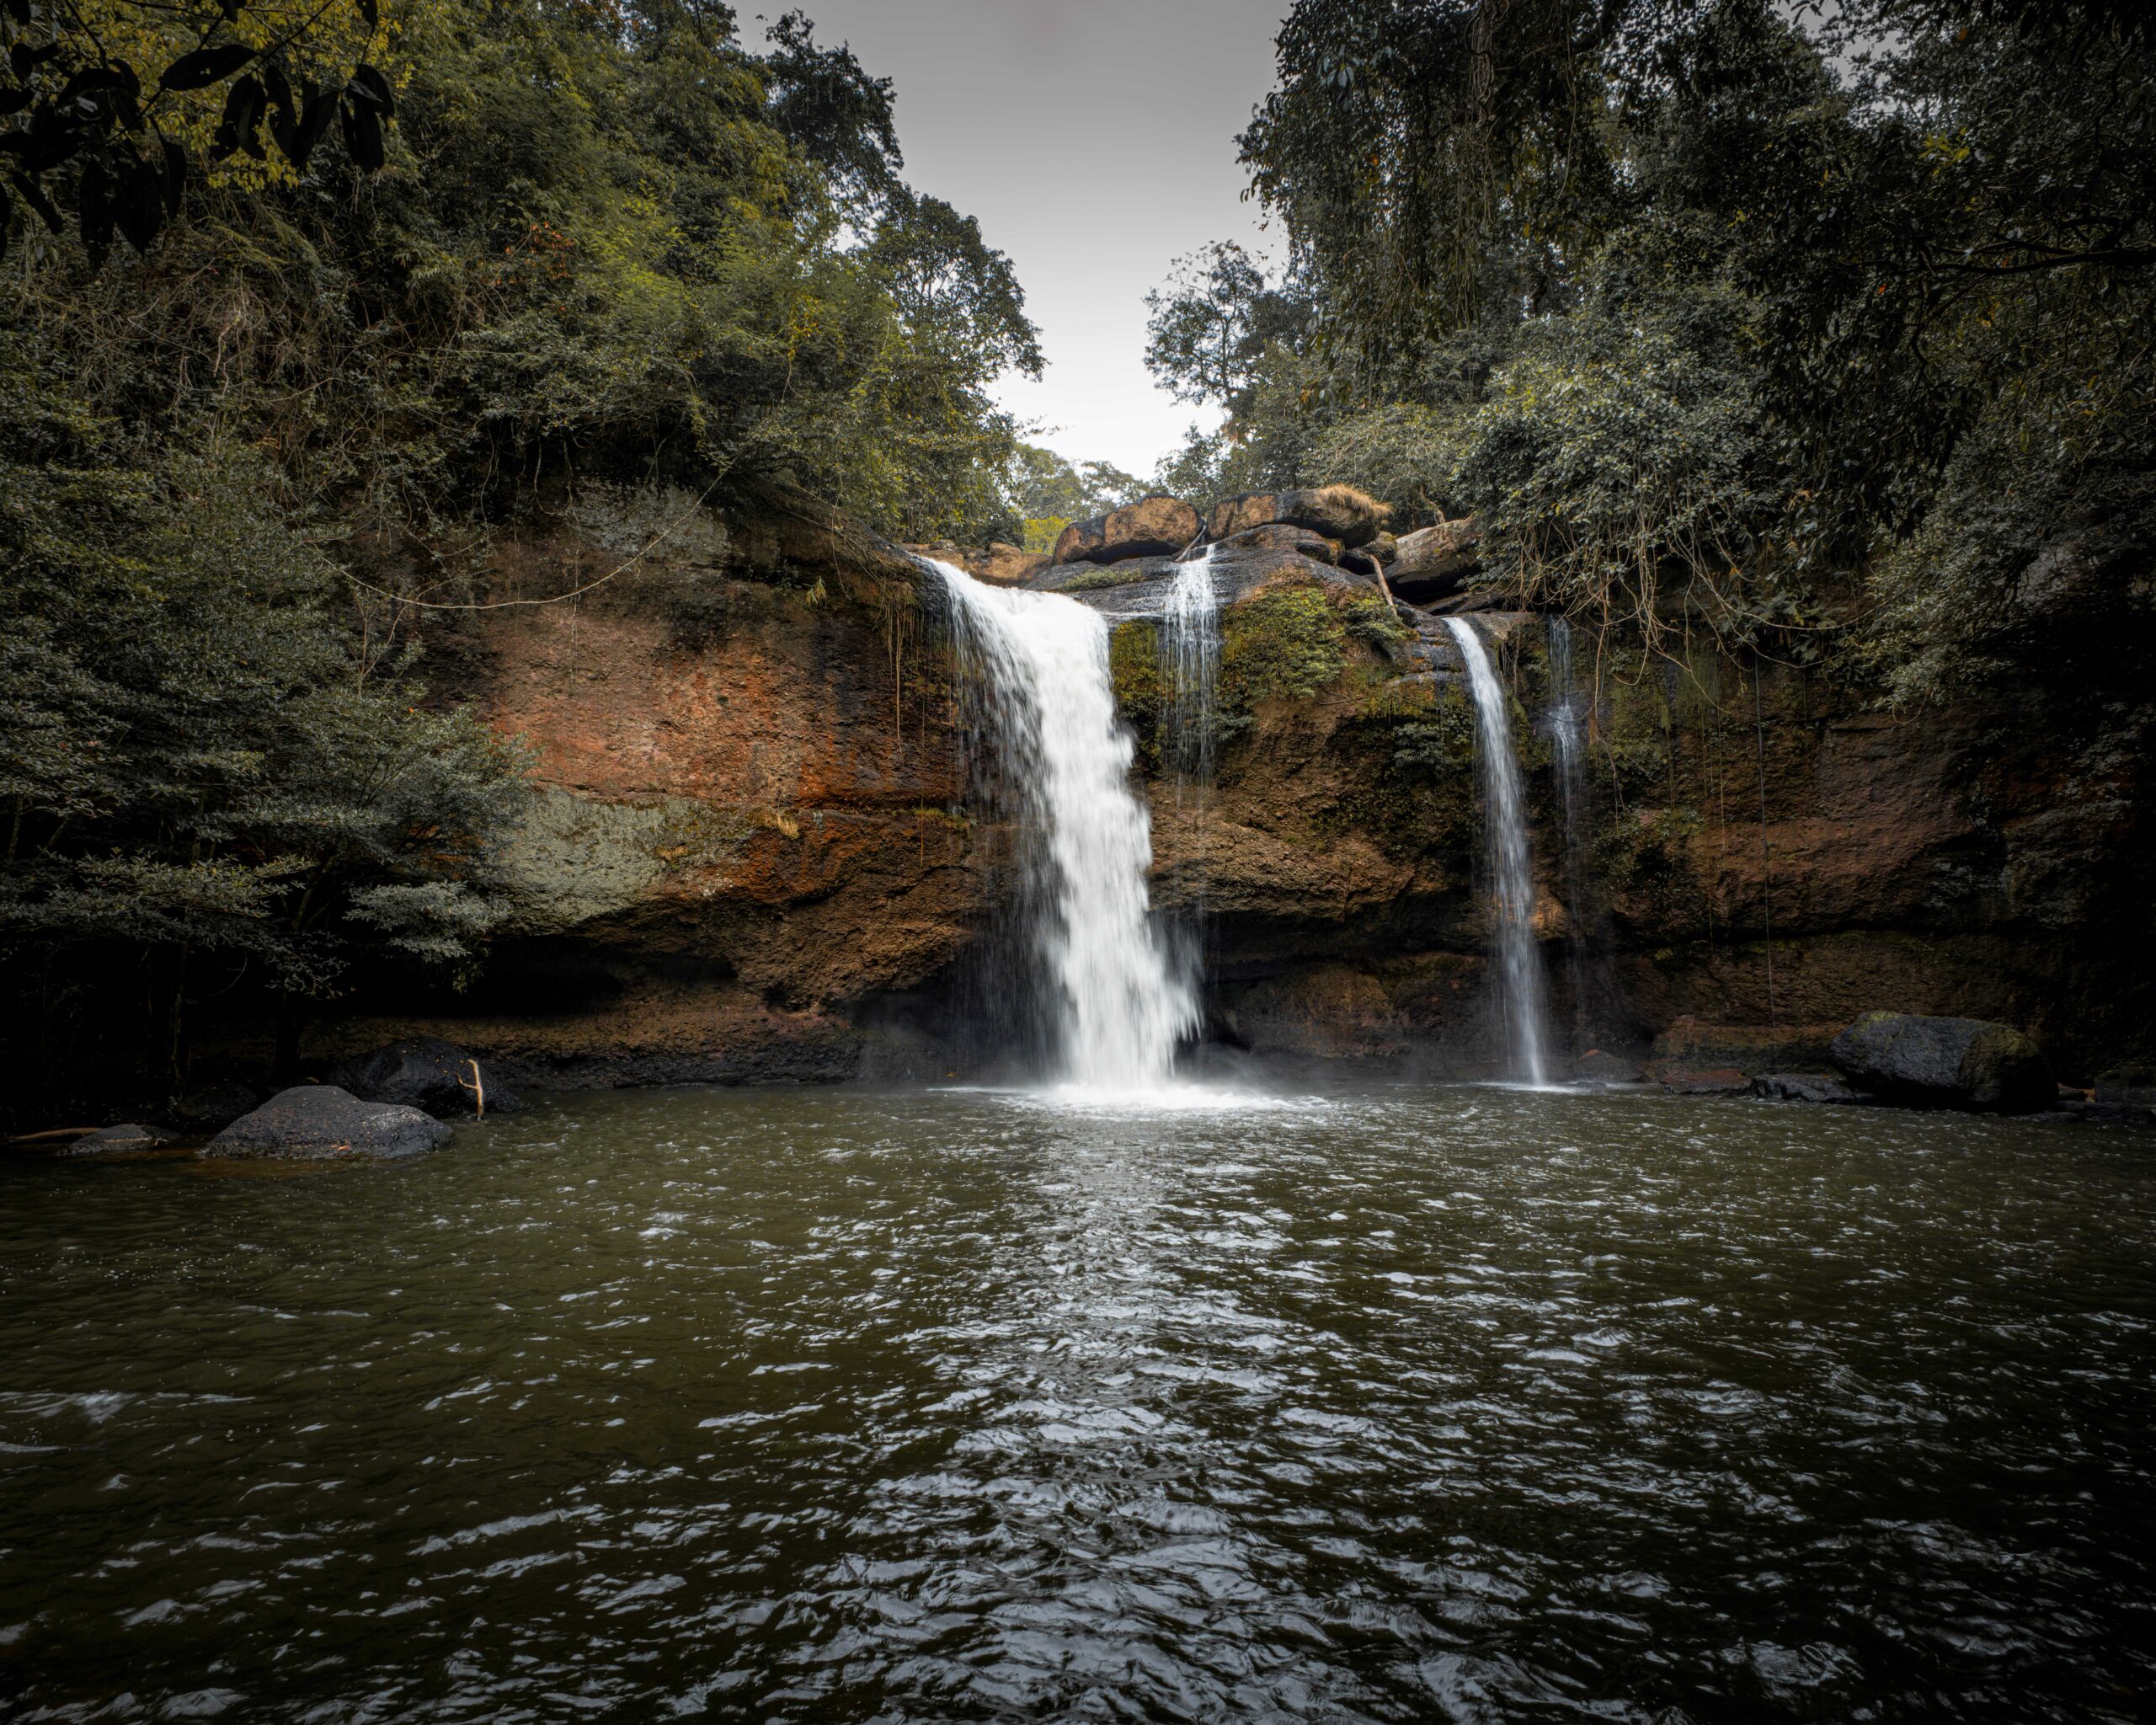

Long Exposure Stacking
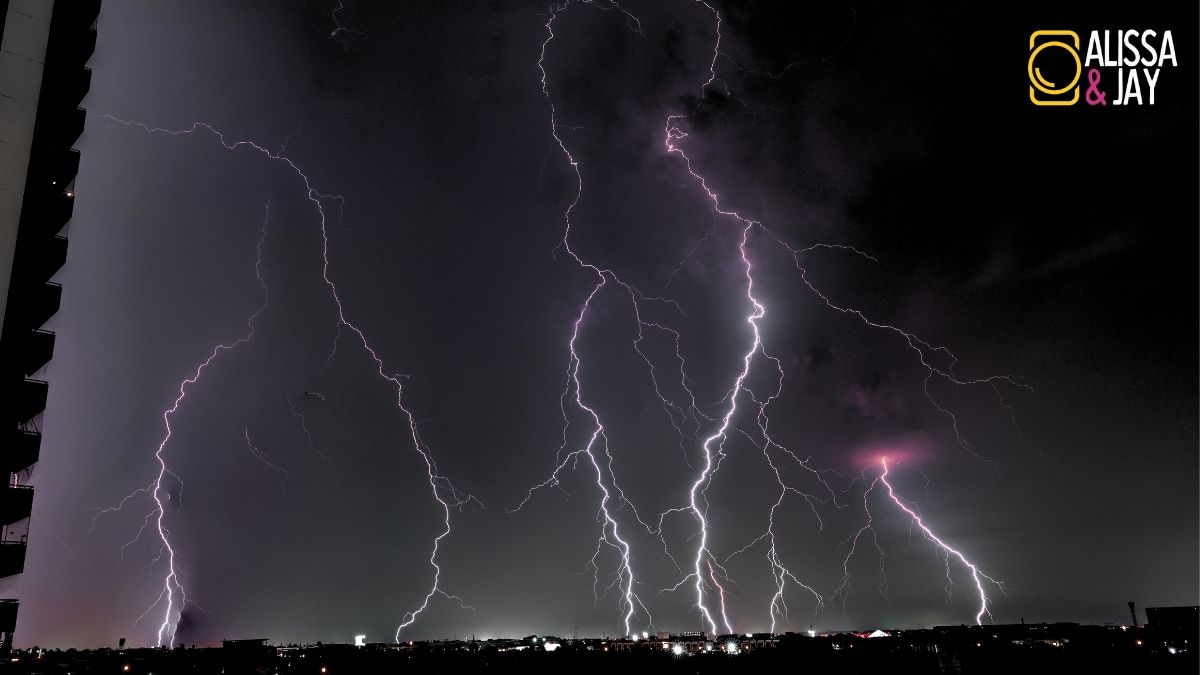
How did I do it?
You can watch the above video for how it was done.
Coming up in live stream session – 2
SHARP PHOTOS – MOVING SUBJECTS
Right around this time of family gatherings during festive seasons, you must be in a tensed mode with the camera in hand and bearing the responsibility of capturing photos of friends and family, but at the back of your mind you must be having questions like,
- Is my camera going to nail the focus?
- I hope there isn’t too much of noise in the photos?
- Should I just use my smartphone instead of fiddling with my camera, adjusting the settings, while everyone is staring at you and waiting for me to take a photo of them.
- Even after making them wait for a long time, I wonder if I got the settings right?
- Oh no the kids will be moving around and how the heck can I make sure I get sharp images with minimal noise?
- If the event were to happen indoors, I am screwed!

Here are somethings to keep in mind that will help you to get sharp photos every single time.
POINTS TO CONSIDER
- Lens
- Focus
- Shutter Speed
- Camera Movement
- Stabilization
- Light & ISO
- Sensor
LENSES
The optical quality of the lens determines the sharpness of the image. Lens have other properties as well such as contrast, micro contrast, vignetting, ghosting, diffraction, etc. It is a huge topic in itself. But if you have a decent enough lens, here is what you need to remember.
Here are the things to keep in mind given that you have a lens of required focal length and wide enough aperture.
LENS CONSIDERATION
- Select the lens that is sharp
- Find the optimal sharpness of any lens
- Avoid ghosting when possible
- Avoid maximum or minimum apertures
FOCUS
Nailing the focus is extremely important to get sharp images regardless how sharp the lens is, if the focus is not accurate on the subject, then there is no sharp images.
If you are trained in using manual focus and are able to nail focus manually time and again, then you are good. But if you are using Autofocus, then there are a few things that will help you nail focus depending on how good the camera is.
Here are the things to keep in mind given that you have a a decent lens and have some knowledge of using AF.
FOCUSING CONSIDERATION
- Decent Autofocusing Camera
- Autofocus modes
- AF area
- Smart subject selection modes
- Subject acquisition
- AF sensitivity
- Frame rates
SHUTTER SPEED
Lets say the camera nails the focus right on the subject through a sharp lens but when the subject moves, the movement can cause motion blur if the shutter speed isn’t fast enough to freeze the subject depending on the subject movement.
In that case you will set the shutter speed high to freeze the shutter speed. Question is how high is too high and how much is sufficient for different subjects.
Here are the things to keep in mind given that you have a a decent lens, have a good autofocusing camera and settings.
Note: this is lot a Iron Clad rule but something to begin with.
SHUTTER SPEED
| SITUATION | MIN SS |
| General Rule | 1/(2*focal length)s |
| Practical Rule | 1/(focal length)s |
| Stars & Milkyway | 15s+ |
| Silky Smooth water | 8s- |
| Misty Sky | 4s- |
| Flowy Water | 2s- |
| Light trials | 1/8s- |
| Stationary Subjects | Practical Rule |
| Posing Subjects | General Rule |
| Casual moving people | 1/160s+ |
| Fast moving people | 1/320s+ |
| Events (depending) | 1/500s+ |
| Sports | 1/1000s+ |
| Flying subjects | 1/2000+ |
CAMERA MOVEMENT
As a moving subject can introduce motion blur in the image inadvertently affecting the sharpness, a moving camera can also affect the sharpness of the image by introducing motion blur.
Although having a steady hand helps in events situations, some times, movement of camera matching the speed of the subject can give a strong impact on the images to show the speed at which a subject moves. This effect is mostly used in sports and wildlife photography.
Here is an example. For the time being, I picked examples from the internet but later I will change to my photos.
This can only be achieved by practice or luck.
STABILIZATION
Stabilization helps the image to maintain sharpness to some extent although I wouldn’t rely upon them. It is available in 2 hardware – Lens and Camera.
When stabilization is available in the lens, it is called Optical Stabilization or in Sony’s case, it is called Optical Steady Shot (OSS). In Nikon it is called Vibration Reduction (VR), Tamron calls it Vibration Control (VC), etc.
When stabilization is available in cameras, it is called In-Body Image Stabilization (IBIS). There is also Electronic Image Stabilization (EIS) which is mostly used for videos. In Sony, it is called Active Steady Shot (ASS).
Mostly OSS or OSS + IBIS helps is slow shutter speeds and video. It is not as helpful for the moving subjects. It is sometimes better to turn it off for very high shutter speeds.
Even though you got everything right, stabilization may help or ruin the images depending on the situation.
Again, this is not an iron clad rule but something to keep in mind that might affect the sharpness.
STABILIZATION CONSIDERATIONS
- For Shutter Speeds lower than 1/1000s, Steady Shoot is okay to be activated.
- For Shutter Speeds higher than 1/1000s, better to try without activating OSS or IBIS.
- Check the OSS and IBIS compatibility before relying on them.
LIGHT & ISO
Having Light helps in Acquiring Autofocus.
When there is limited light, we tend to increase the ISO. Shooting with High ISO is counter intuitive as it makes the image appear soft when NR is used.
SENSOR
As we say, big sensor camera helps in providing better ISO performance than smaller sensors at the same ISO value.
For moving subjects for example, as we saw above, if the shutter speed need to be constant between the big sensor and small sensor cameras, the only controls we have are the ISO or the aperture. We can only go as wide of an aperture as the lens allows. So, having bigger sensor is beneficial in these situations or having an external light helps.
One more thing to pay attention is whether you are shooing mechanical or electronic shutter. If you are shooting in mixed lighting conditions and with electronic shutter, you might suffer from banding issues.

That’s it for now, we shall meet again!


